Lessons from student teaching
Classroom management
1. New teachers struggle to be direct. Learn what you want, then tell students what to do. Practice saying things like “I need you to put your phone away and pay attention” because it can feel unusual the first times you are in a role of authority.
2. Avoid negotiating, compromising and undermining yourself when instructing students. Never say things like “you’ll need to know this for the test” or “if you pay attention for two more minutes maybe we can skip the next part.”
3. Be wary of small things students do to test you. If you let them get away with minor things they will devolve into bigger things. It’s better for everyone to be clear about expectations at the start with the minor infractions. It is easier to correct something minor for you and the student.
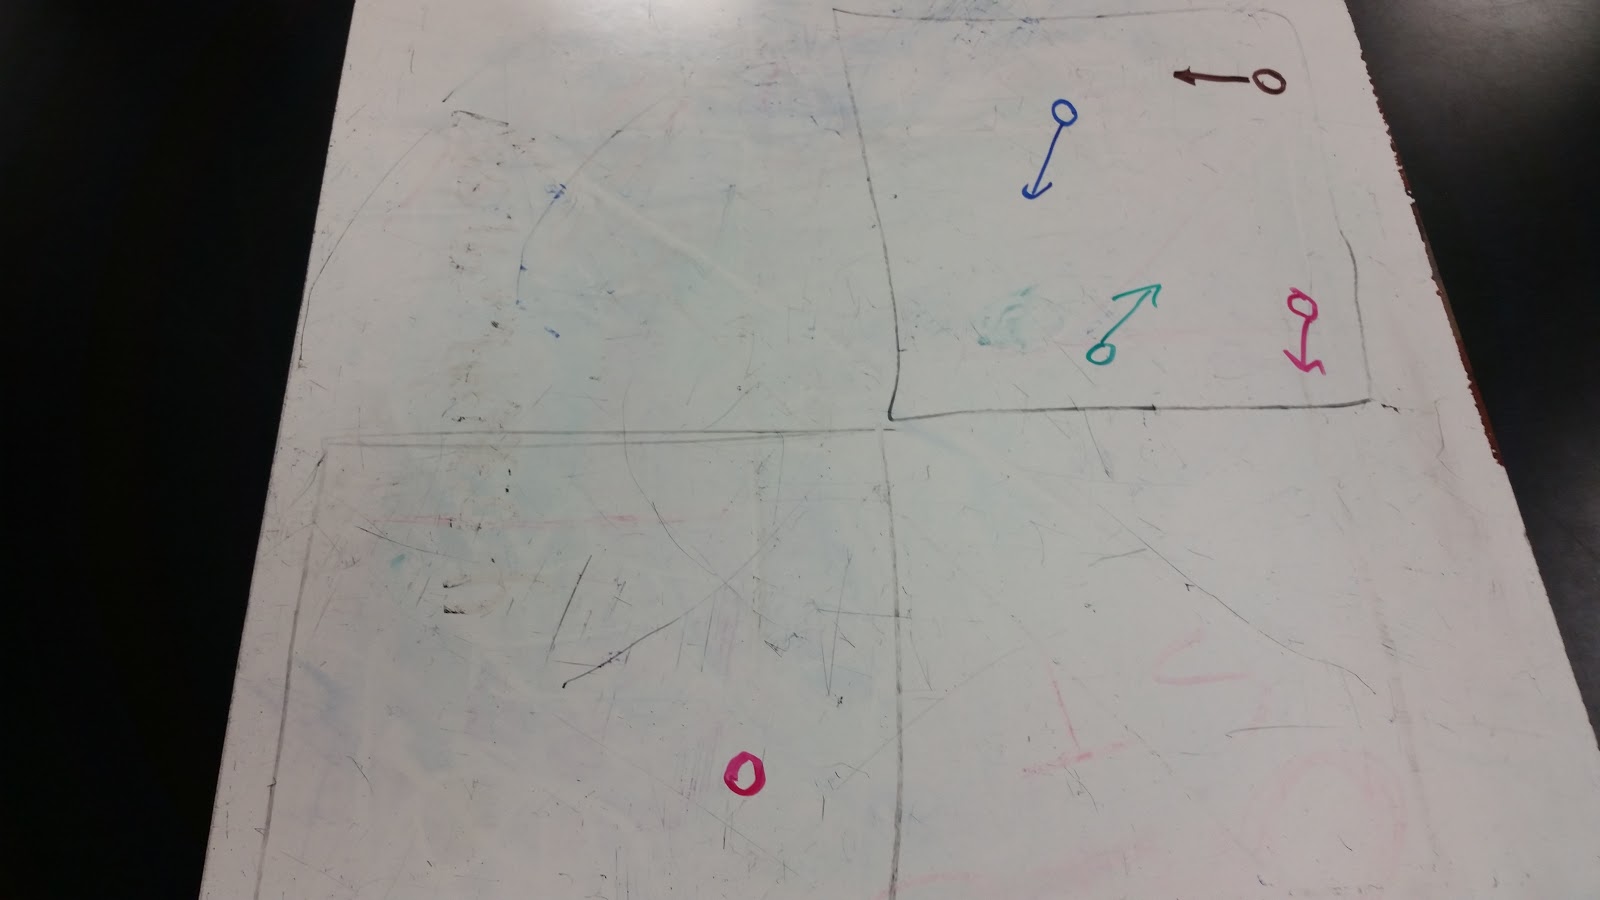
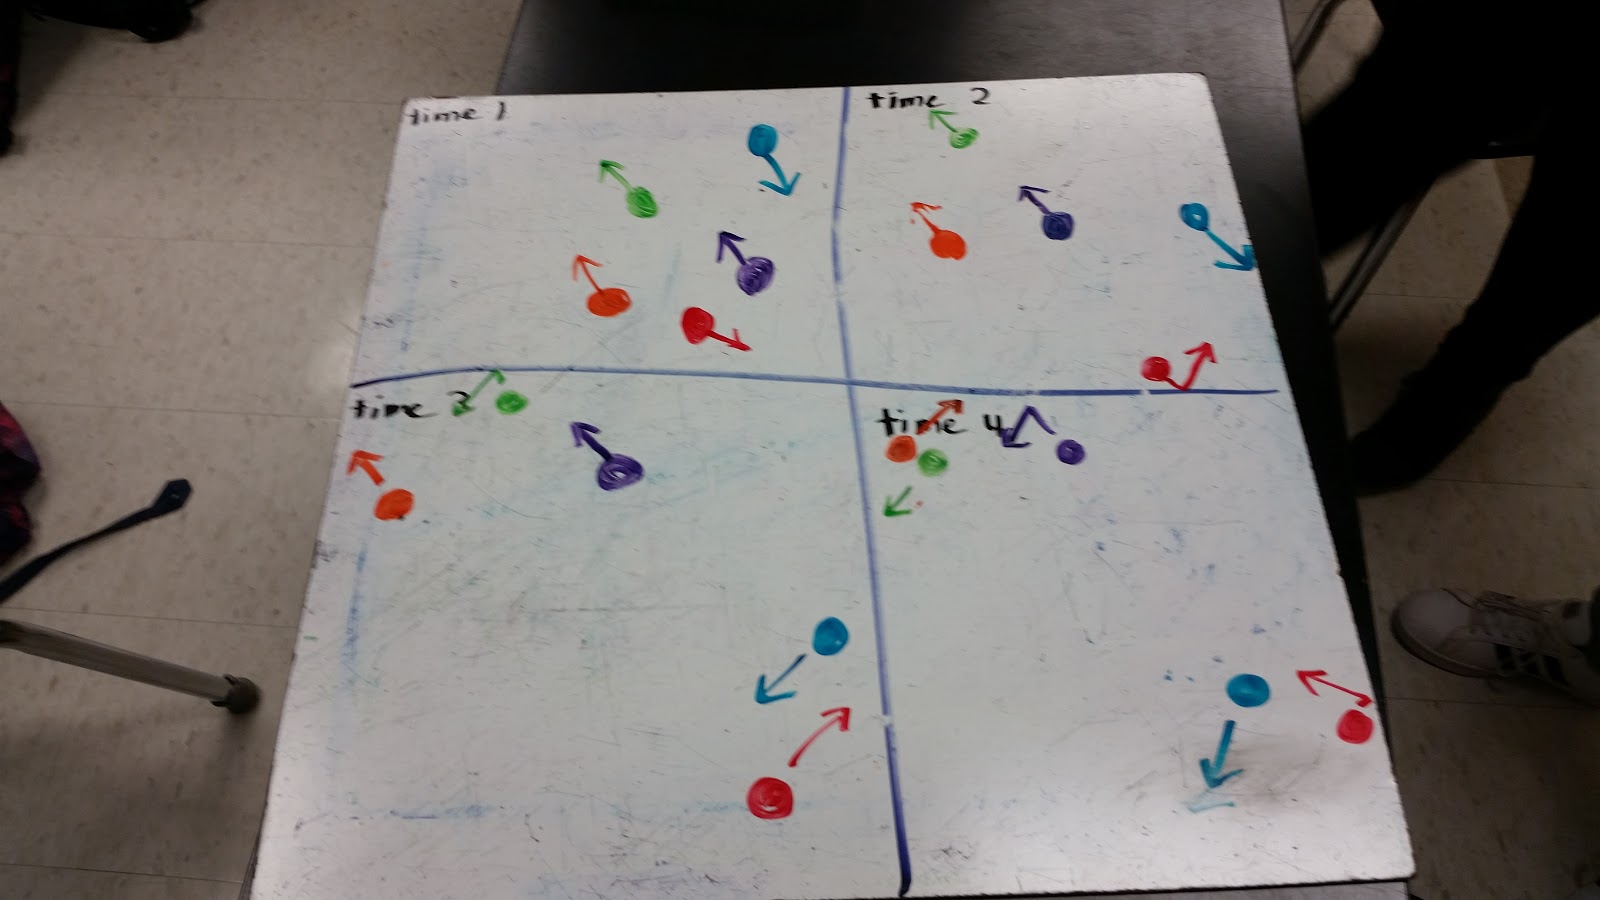
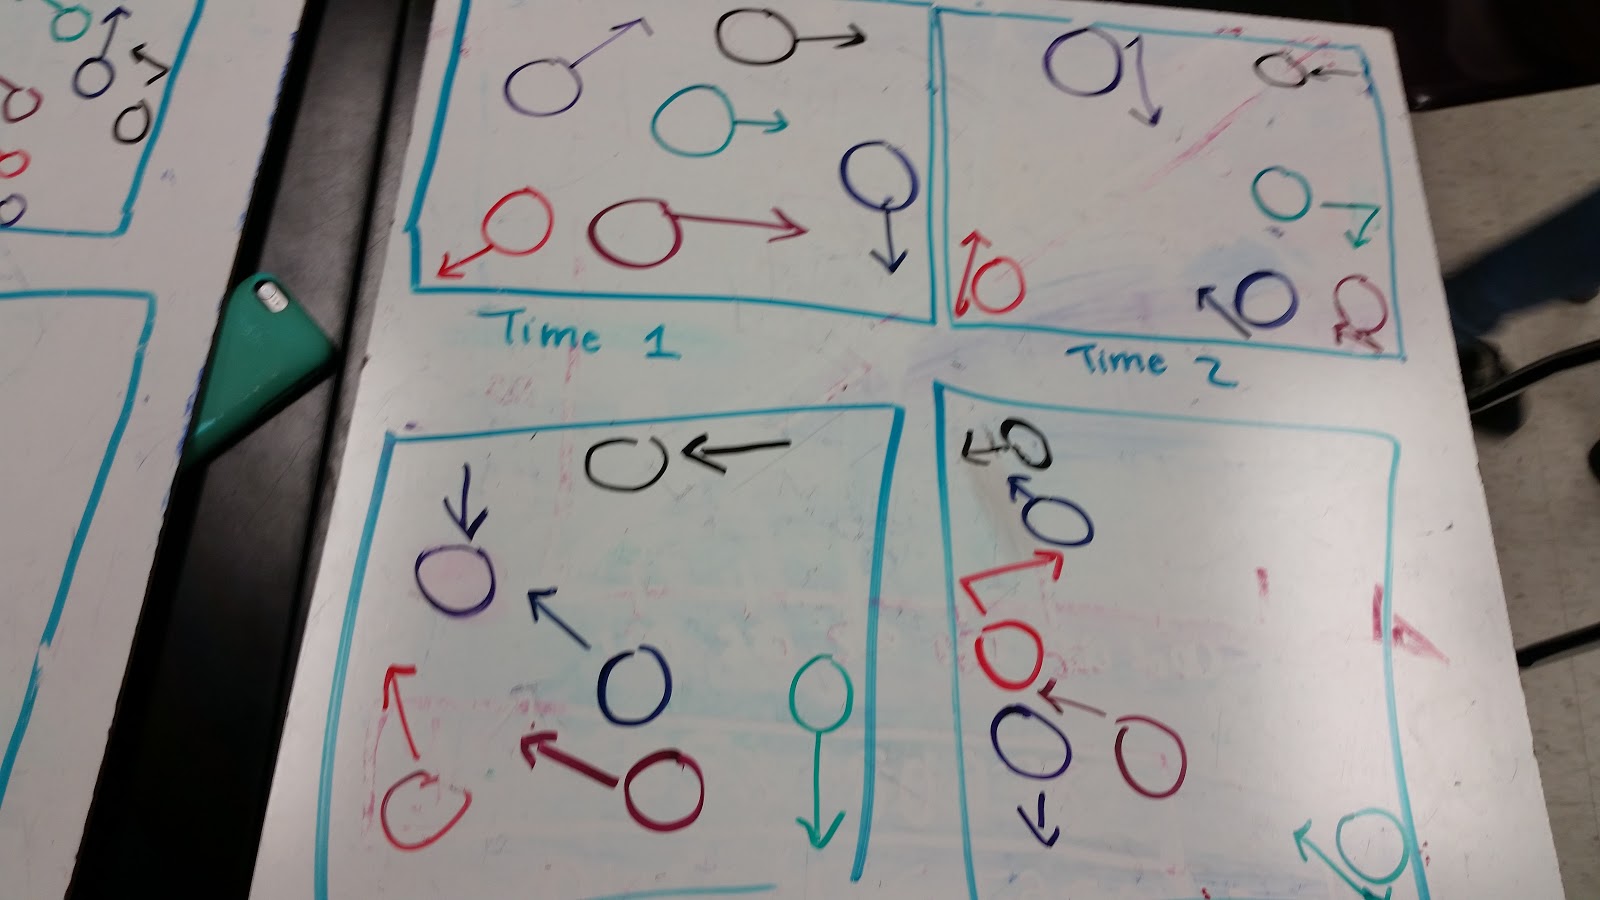
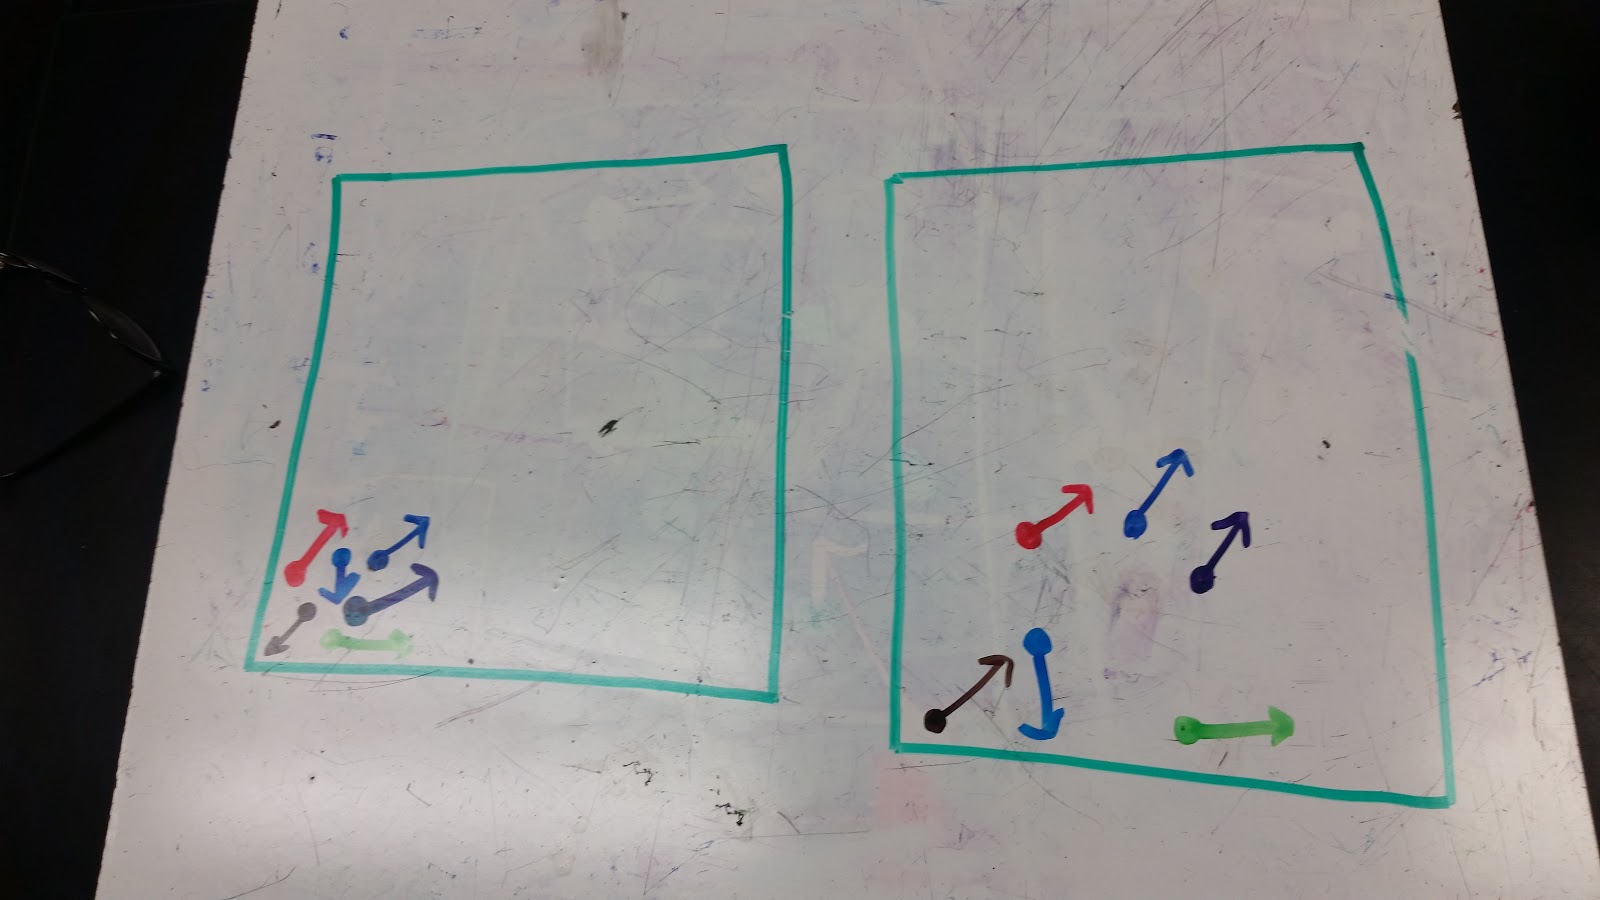
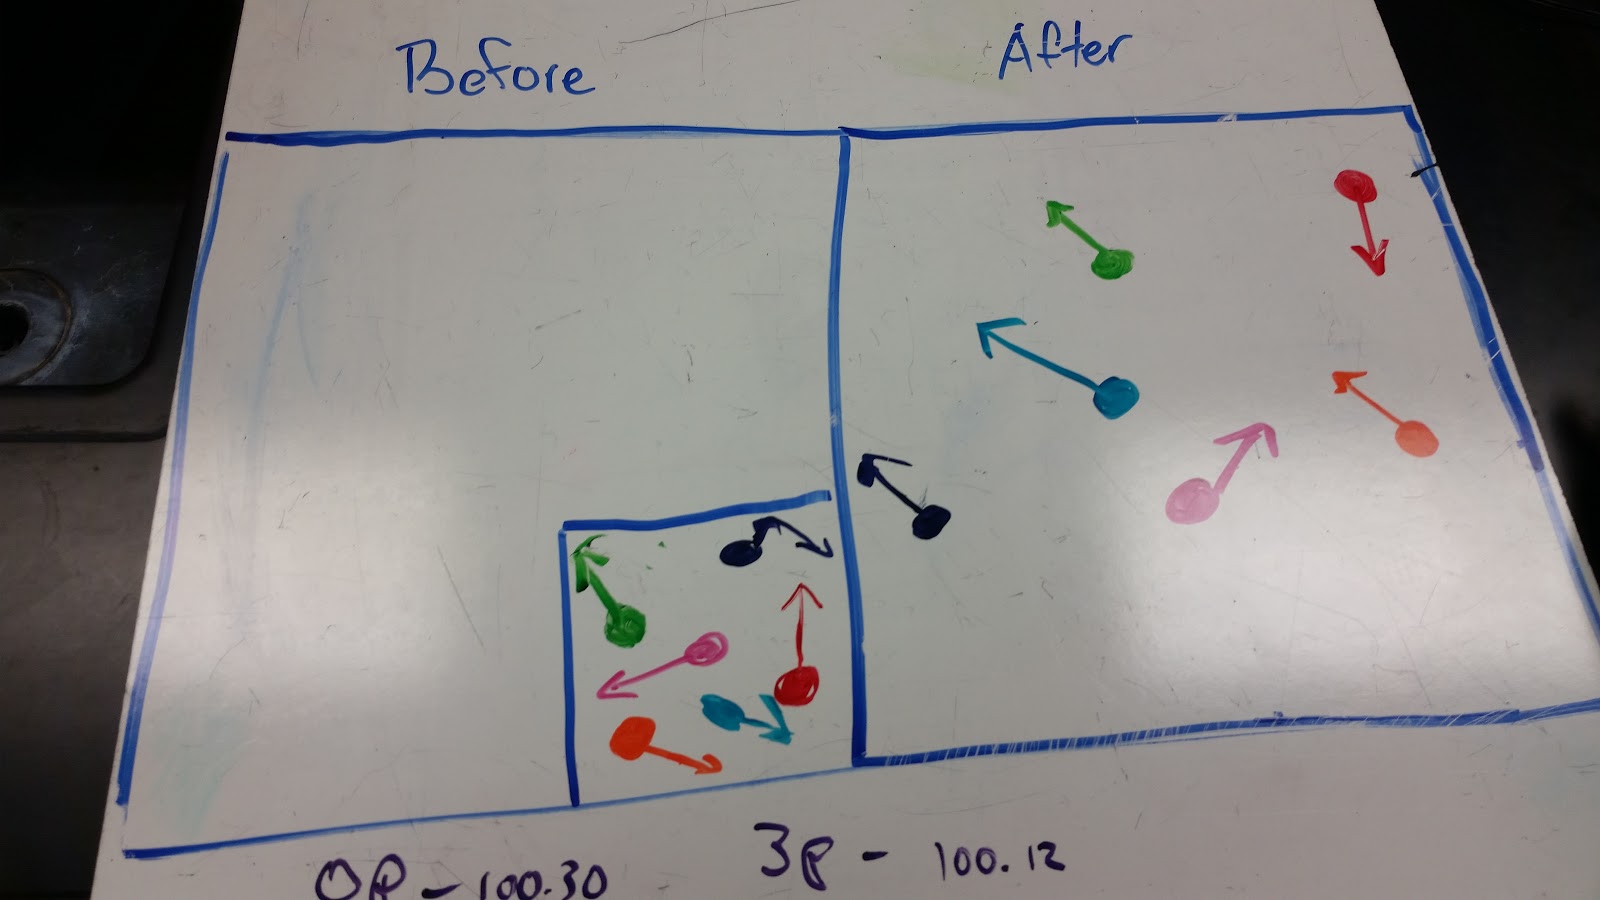
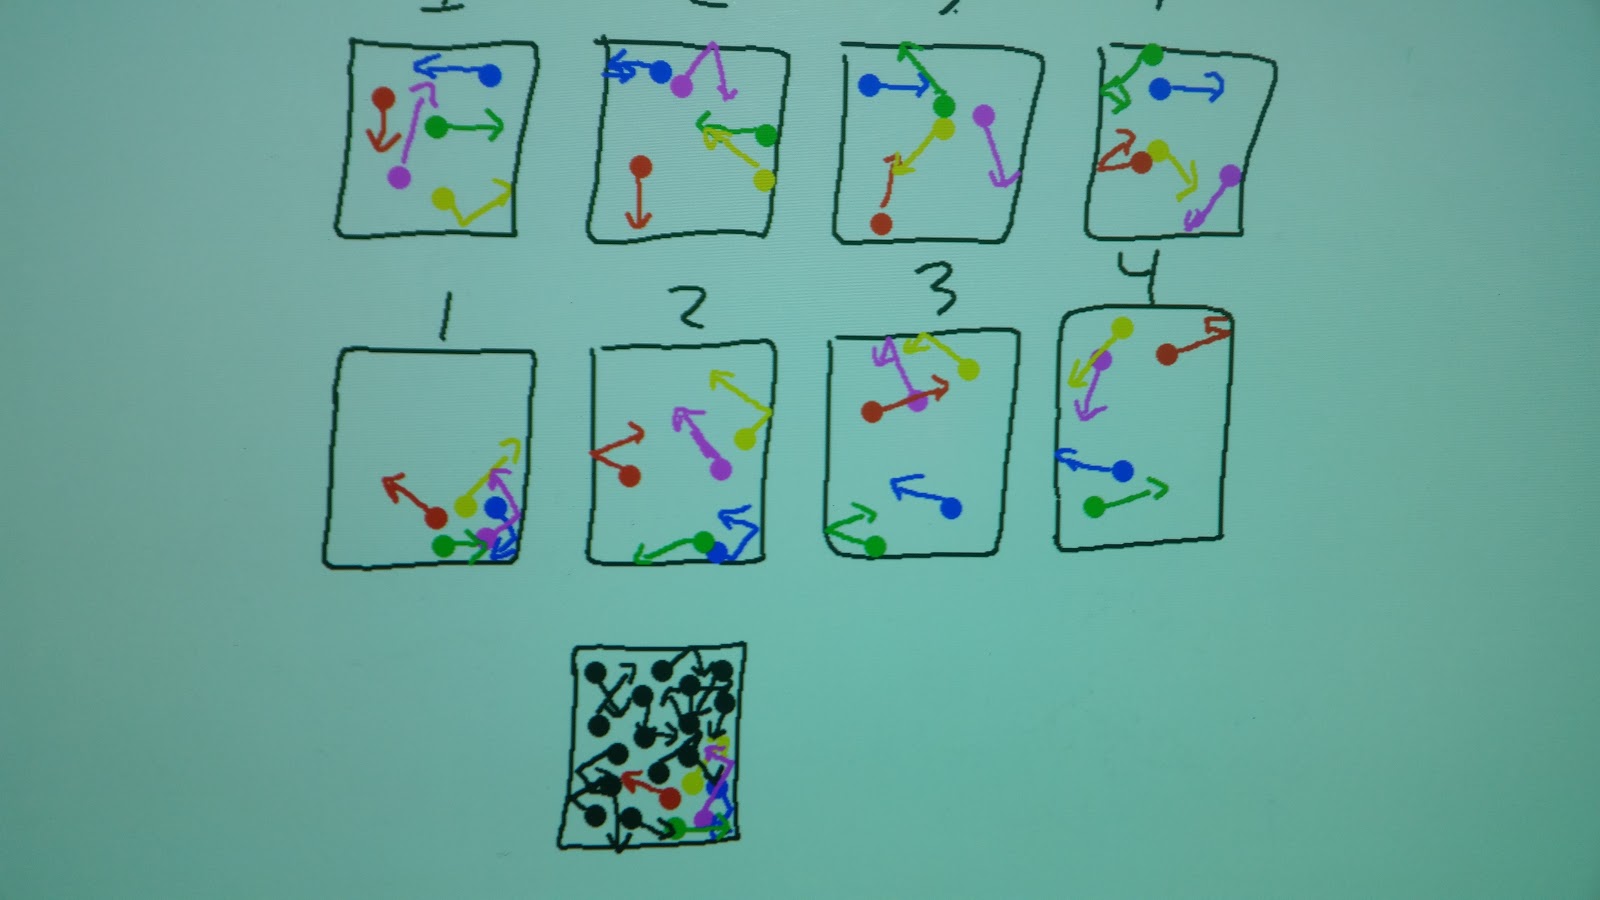
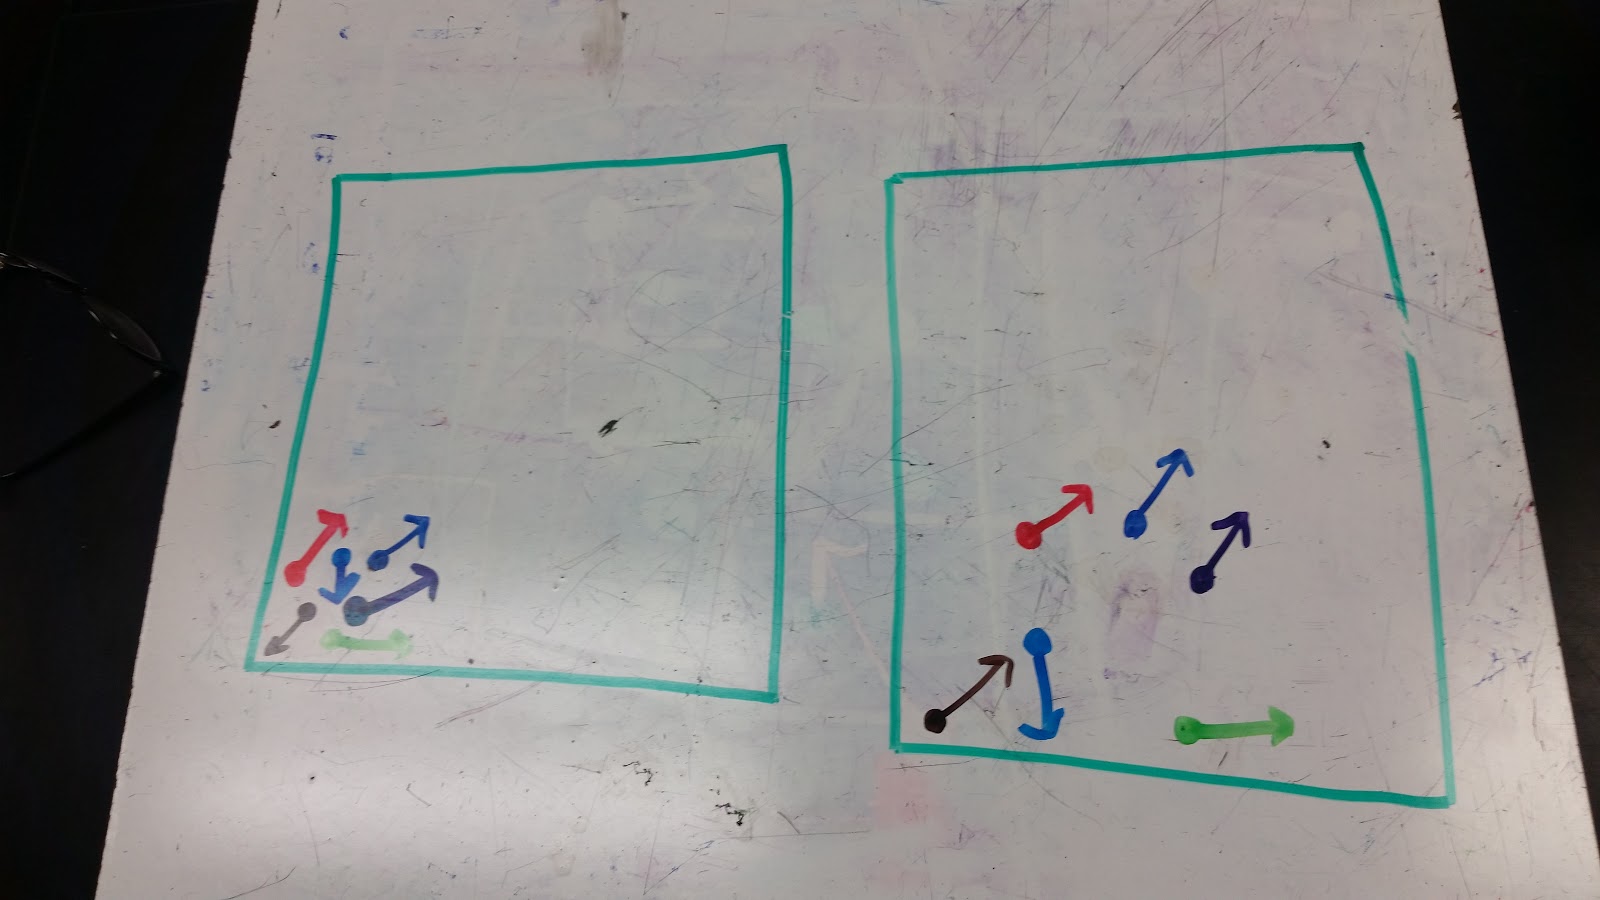
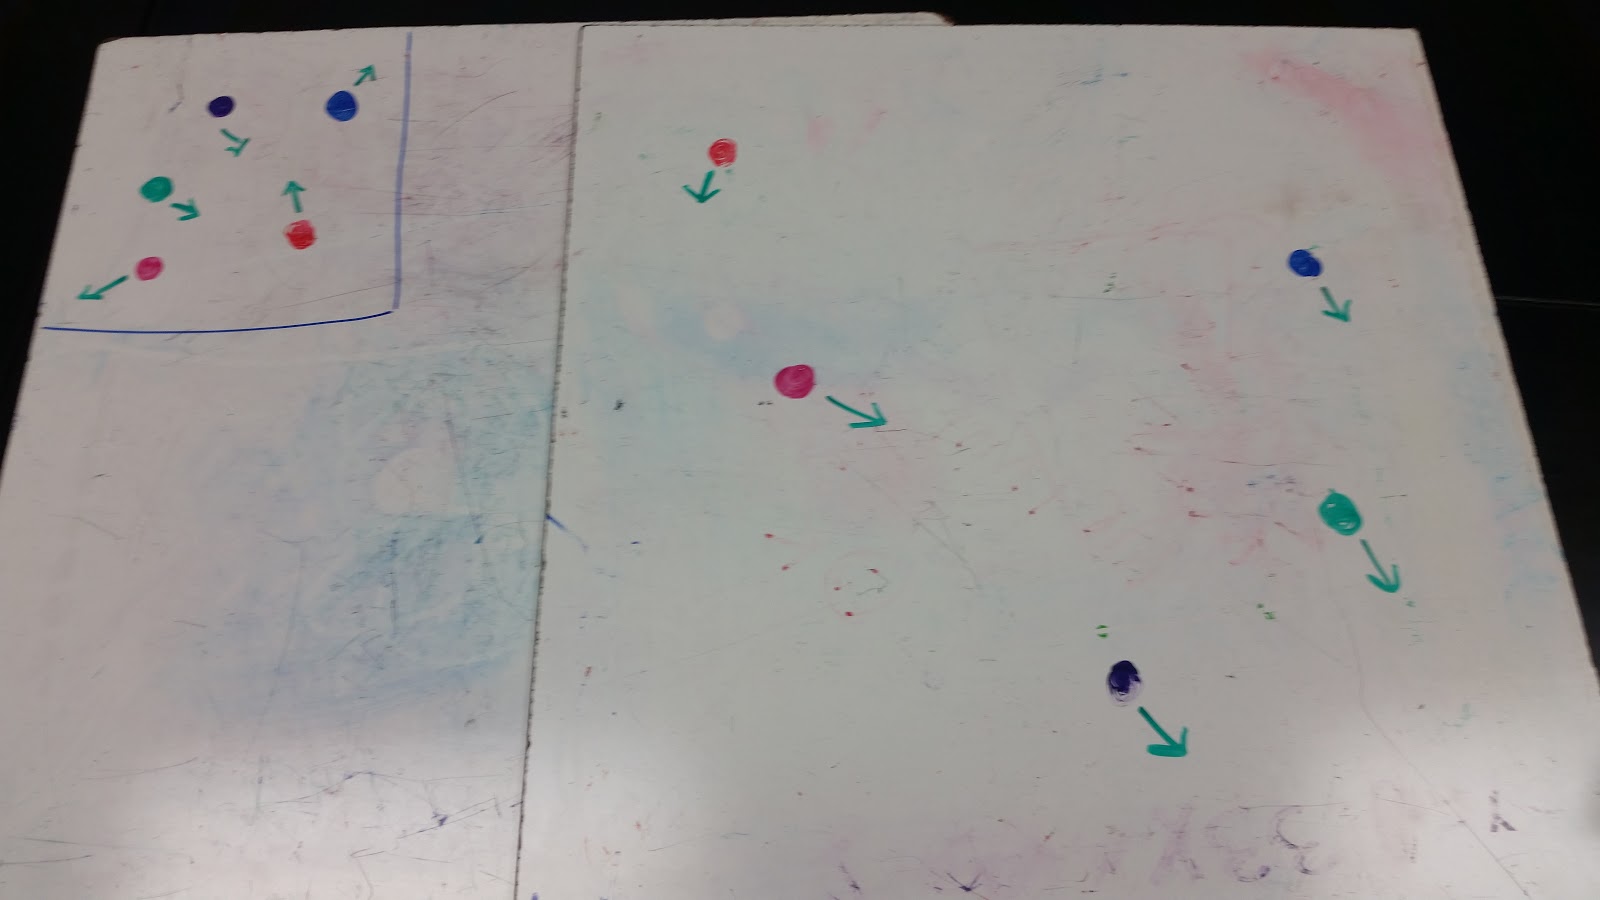
4. Provide feedback when whiteboards are what you want and what you don’t want. We had issues with clarity and students writing instead of drawing.
5. Students being noisy can wear on you mentally. It helps to pause, think about exactly what you want them to do, why they aren’t doing that and be persistent in communicating.
6. There are 3 ways to engage someone’s attention. What your showing them can be engaging (content), you can be engaging (teacher) or they can talk (student). Work in all three of those.
7. When you are new, content is a struggle. So rely on your personality sometimes to help students focus.
8. If students aren’t focused have them write something.
9. Move students’ seats around every unit so they do not stagnate into cliques.
10. Measuring student infractions can be helpful for giving specific feedback. This should not be used to shame, just for information and to avoid bias.
11. Avoid getting in a trap where you always yell at the whole class. You can tell the whole class once. After that you should be talking to the individuals who are making infractions.
12. Some teachers have the expectation that all 180 students will behave and learn perfectly. Then they get upset when things don’t go according to plan. This is unrealistic and you should be mentally ready for deviations. Expect them.
Grading
1. When students anticipate quick feedback, they work harder and produce better quality work.
2. Don’t make comments on student work, it’s ineffective use of your time and instead share feedback with all of your students
3. Grading is exhausting. I try and set up my grading into chunks so I get some positive feedback when I finish a chunk.
4. After grading a test is the best time to reflect on your teaching for the unit
5. Learn how to stay ahead of grading so you minimize questions from students and parents. Up front communication and timeliness will save you time.
Teaching philosophy
1. Students are often put into diverse settings in a classroom with no instruction or guidance from adults. You are responsible for teaching them about how their perceptions can undermine their interactions with others.
2. It is hard to teach. Often when we seek the easy way in teaching there is a transactional cost. If you use grades to keep students quiet, they will be quiet but you undermine their learning and your grading system’s integrity. It’s better to teach them to be quiet, but it’s also more work to do what’s right.
3. You can’t always do everything correctly in teaching. You should work towards it, but know that it’s ok to take some shortcuts.
3. You can’t always do everything correctly in teaching. You should work towards it, but know that it’s ok to take some shortcuts.
4. When teaching goes well it’s awesome. Having students engaged and learning is a great feeling. Don’t ever forget how challenging and awesome teaching is.
5. It is totally acceptable to be kind to students even when they frustrate you.
6. Try something new a minimum of four times a year. If it doesn’t work well, be glad you know.
7. You should be critical of your teaching, but you shouldn’t take it personally. As a new teacher you want to improve, but not in a toxic manner where you feel bad about yourself. The teachers you surround yourself with can influence this quite a bit either way.
8. Defeatist language is bad. Don’t let students say things like “I don’t know anything” or when you ask which problem was hard they say “all of them.” Correct them when they do this or it harms the whole class.
9. Learn to identify what the problem is and what the solution is. If students aren’t focused, your good teaching doesn’t matter. It’s always better to stop and redirect.
Chemistry content
Unit 1 Measurement, mass and volume
1. What is the physical interpretation of the slope? What would a “for every” statement be for it? What are the units for the slope?
2. The slope of the y=mx+b for mass vs. volume can be used as a model to predict masses and volumes. The slope gives us some information about the particle level difference between substances with different densities.
3. Measurements are not numbers, they are ranges. The rules for rounding answers that stem from measurements are specific to maintain the appropriate level of uncertainty. It is helpful to show students examples with ranges (IE 6x4 = 20 but 6.0x4.0 = 24). The analogy of having about $5000 and finding a quarter, now how much do you have?
3. Measurements are not numbers, they are ranges. The rules for rounding answers that stem from measurements are specific to maintain the appropriate level of uncertainty. It is helpful to show students examples with ranges (IE 6x4 = 20 but 6.0x4.0 = 24). The analogy of having about $5000 and finding a quarter, now how much do you have?
4. Students have bad ideas about particle spacing for solids, liquids and gases from illustrations in middle school. It takes a lot of effort to break these down in spite of clear cut evidence.
Unit 2 Gas Pressure
5. There are direct/inverse relationships and there are directly/inversely proportional relationships. The distinction matters a lot.
6. Sometimes gas particles collide more frequently, sometimes they collide more frequently and with larger collisions
7. All particles move all of the time. Evidence for particles in solids moving can be how solid objects feel cold and hot based on how fast the particles vibrate against your skin particles.
8. Splitting up gas pressure demos into time segments greatly enhances your ability to dig into what’s happening. Look in particular for small amounts of water leaking or subtle volume changes
9. Students get confused when you change three variables at once (PVT) because they overthink things. Keep them focused on two changes at a time, and towards the unknown variable.
10. For the mason jar demo the small amount of water leaking opens up the discussion to higher levels
11. For the balloon in the bell jar demo ask how the pressure in the balloon changes
12. For the can crush or balloon in flask, ask whether the pressure in the open flask while boiling is higher, equal or lower than the air pressure in the room.
13. For some demos, the change in temperature (kelvins) is insufficient to explain the magnitude of change (can crush, balloon in flask) n and V might also be changing
Unit 3 thermo
1. Heat is a term that meaning has become too diffuse. Use thermal energy instead to get better understanding.
2. For specific heat capacity, students will mix up Q with C so its important to use their units to differentiate what they are.
3. Heating curves are a struggle and students need more than just a curve with water. It helps to talk about slope and length of phase changes and how they can change.
4. Use blocks of various masses and temperature changes to test whether students understand specific heat capacity.
Unit 4 elements, compounds, mixtures
1. Volumes of gases can give information about what a compound might be, what can be done with solids?
2. Sometimes when we don’t know something, we can just assume something and see if it works
3. If a rock has the same % of each element no matter the size or source, that indicates whether it is a compound or a mixture
3. If a rock has the same % of each element no matter the size or source, that indicates whether it is a compound or a mixture
4. Separating mixtures can be done via distillation (boiling points/stickiness of particles), filter paper (particle size vs. filter hole size) or chromatography (stickness relative to the stationary phase).
Unit 5 moles
1. When teaching moles, the molar mass can be represented as a for every statement, a conversion factor, a means to compare amounts (if 18.02 g is 1 mol, 84 g must be more than 1 mole), it can be represented using pictures and it can be used as a relative mass.
2. Students that don’t know how to convert actually don’t understand what the molar mass means.
3. When students struggle with math, it helps to add more units and labels in. It’s harder initially but helps them move past basic manipulations into what they are actually doing and using.
Cognitive Science
1. The amygdala can have a big impact on learning. If students are angry or in fight or flight mode the ability to learn plummets. If students are happy they have stronger connections to what they are learning. This is why we easily remember movie quotes and songs.
2. Asking students what they learned at the start of class gives them a chance to reflect and will help them do better in their other classes. If you do this consistently, they will work harder to remember other lessons.
3. Students can’t learn when they are frustrated. But you also should not interfere with their learning to reduce frustration.
4. Don’t start worksheet problems with your hardest problems. Start with the easiest ones and let them figure things out without samples from you.
5. People believe things if you offer a reason, even if the reason is nonsense. They just hear that there is a reason (copy machine experiment)
6. Feedback should be more work for the student than for the teacher.
Discussions
1. Discussions are enhanced when students work towards finding out what they know instead of seeking an answer. Seeking an answer leads to limited participation, frustration and racist/sexist beliefs. Students that can practice starting with what they know learn more effectively with less frustration.
2. It is imperative that students learn to put effort into their whiteboards during unit 1. They should use color coding, they should measure carefully, they should follow all instructions, they should think about what they’re doing, their particle diagrams should be clear what the intent is.
3. Whenever possible, call on students instead of taking volunteers. Volunteers show that you care about getting the right answer from someone. Cold calling shows that you want to know what a student is thinking. Use dice and a seating chart to find a random student.
3. Whenever possible, call on students instead of taking volunteers. Volunteers show that you care about getting the right answer from someone. Cold calling shows that you want to know what a student is thinking. Use dice and a seating chart to find a random student.
4. You’re always talking to the whole group even when you’re talking to a single student when you’re in a circle. Project and be loud.
5. Discussions are very hard to lead when you’re new to teaching. You can get better by planning questions as you observe what students put on their boards. Find errors, unique representations, mathematical variations and start writing down questions to ask.
6. Learn to pause so students talk more.
7. Phrase your questions so students can opine rather than be led. It’s better to ask, how small is 0.001 cm and see what students come up with than to ask “Do you feel like 0.001 is one of the smallest things you know of?”
8. Talk about things you’re passionate about. Bring up past experiences and memories. They help increase learning retention and forming neural pathways.
9. Slow students down when they talk about similar topics. Mass, volume and density are all different but related. This means students will often substitute one when they mean another.
10. During discussions you want to push back against student ideas to force them to think more, but you want to push back against the idea not the student. To do this you want to speak to the entire class and not interact too directly with a single student.
11. Don’t do thinking for students, but it’s good to frame what we’re discussing to focus the attention and reduce the cognitive load.
Miscellaneous
1. At Open House talk about what you’re passionate about. Don’t just give a presentation on mundane details but talk about some of your favorite things.
2. Strategies to learn students’ names. Write down pronunciations on a seating chart so you don’t have to ask repeatedly or feel uncertain later. Put in a grade for students. Use retrieval practice when students are working. Use their names when you talk to them.
3. Don’t answer student questions during the test. They can figure out the answer from the information on the test. By answering you are either being unfair or you are cementing in a wrong thought. Better to always shrug and explain ahead of time why you won’t answer.
4. It’s good to have a list of things you’d like to talk with students about that take 5-10 minutes for when you’re ahead in one hour (cognitive science, anti-racism, specific scenarios in school)
5. When you leave sub instructions that involve whiteboards, have students sent a photo to your email or twitter account so you can see how they’re doing.
6. Prepare for interviews by making a list of things you want to say (student situations, student work, specific lessons, books, philosophies)
7. During conferences, be wary of shouting praises for parents who might be having a rough conference nearby you.
8. During conferences, lots of parents just want to know that their child is happy during class and what they are like.
9. Don’t criticize yourself to put yourself down. Only do criticisms that are productive.
Questions to ask
QTA 1. What would a measurement that was on a 10.00 cm line be written as?
QTA 2. A block of wood floats in water, what will the same block that has multiple holes drilled out do?
QTA 3. How do measurements or significant figures differ from numbers in math class?
QTA 4. #2 and #3 on worksheet 3, does a larger density imply more particles in the same space, bigger particles (or both)?
QTA 5. Can you show me a whiteboard that highlights what you’re explaining. This came in handy for when students explanations were unclear or confusing.
QTA 6. what makes Fierce cologne particles move the way that they do?
QTA 7. Does the pressure increase from more collisions, bigger collisions or both?
QTA 8. What makes the particles move? If particles collide, what does that imply about their motion?
QTA 9. Which is hotter, a teacup of boiling water or a bucket of warm water?
QTA 10. What is a compound and how is a mixture different?
QTA 11. Can water ever not be H2O? Could it be H3O?
QTA 12. Do we have more or less than 1 mole?
QTA 13. What does the number 22.99 mean for Na?
QTA 14. What does the number 18.02 mean for H2O?
QTA 15. If there is 1 mole of CaCO3, how many total atoms and O atoms are there?
Weaknesses of Milam (find someone else to learn these from)
Weakness 1. I am not good at organizing the physical layout of the room. I don’t have a space for everything and I don’t throw stuff away frequently enough.
Weakness 2. I am off topic too frequently and this detracts from my lesson timing.
Weakness 3. I’m arrogant. It’s getting better, but it’s still not good.
Strengths of Milam
1. I see the good in all kids. I don’t let their mistakes define my perception of them.
2. I can anticipate what students don’t understand and ask good questions that allow them to do the same.
3. I reflect constantly about everything.
4. I’m creative and have fun at work.